Detailed Step by Step Guide
- Master Minx
- Sep 5, 2022
- 2 min read
Updated: Jan 24, 2023
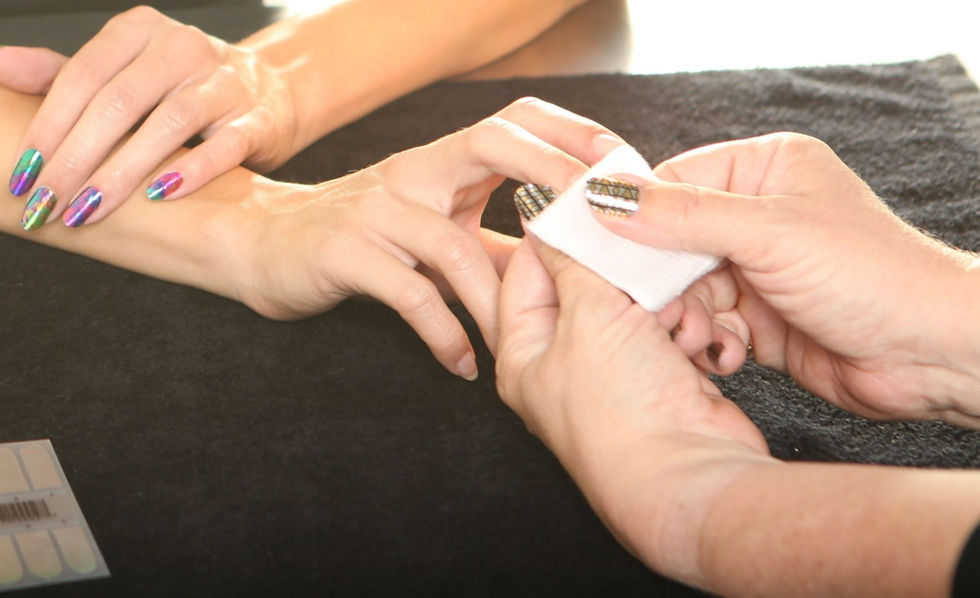
Step 1: Clean and Prepare Nails
Use an alcohol wipe to clean dirt and grime off the nail.
Clean, manicured, and smooth nails will provide the best results. Consider applying Minx after a professional manicure for optimal lasting time.
Step 2: Size Minx to Nail and Preheat
When sizing, place and bend the nail wrap sheet over the contour of your nail to find the best fit. Once the correct size is found, preheat.
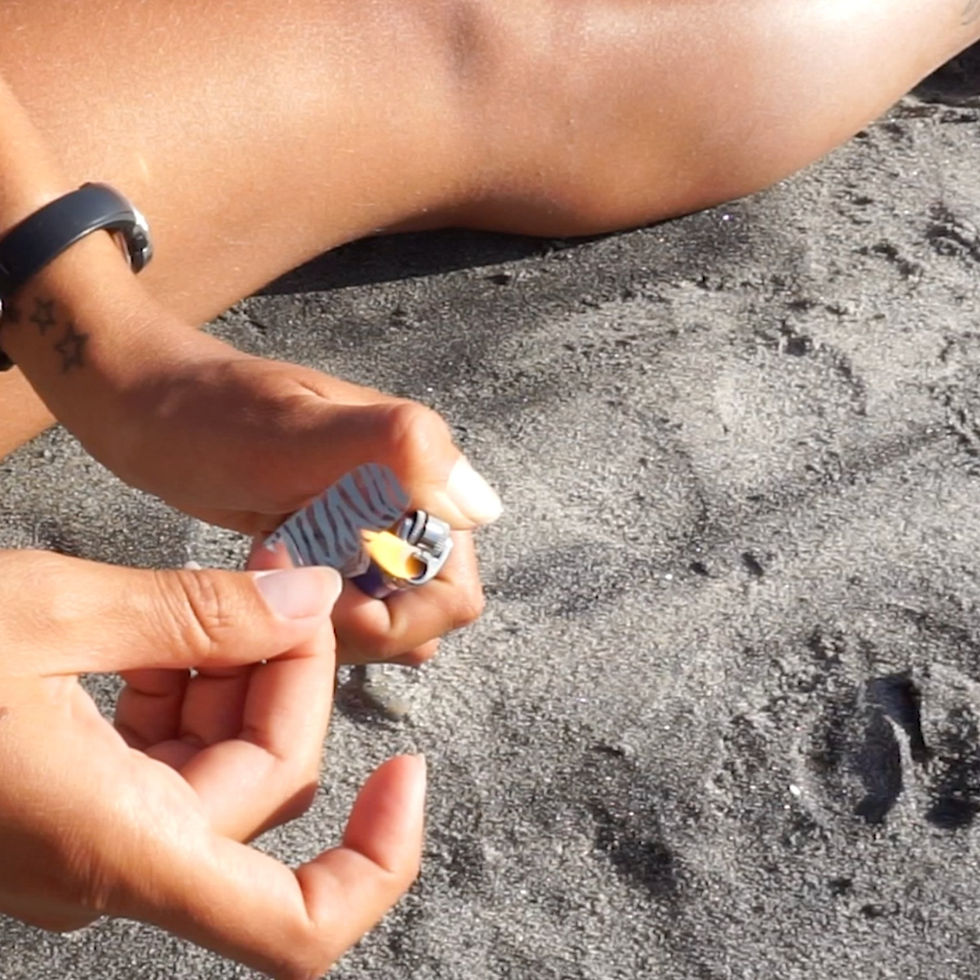
The Minx nail wrap works best after being heated up. The wrap becomes more malleable under heat and will adhere better to all of the imperfections of the nail. Once it cools, the wrap will tighten up and hug your nail. The more properly you heat, the better your results.
Here are a couple ways to add some heat to your nail wraps:
Lighter/Candle Flame: place peeled-off wrap carefully next to flame until the wrap starts to droop. Then carefully apply. (only utilize this in safe environment).
Blow Dryer: harder to do because you will have to use one hand, but you can preheat the entire minx sheet before applying. We recommend reheating before applying each nail.
Friction: if you're on the go, you can carefully rub the entire sheet against pants or shirt to heat up the Minx through friction (be careful of any rough materials or seams as it could damage or scratch Minx surface especially with metallics).
Step 3: Lightly Apply Minx to Nail with Rounded End Close to the Cuticle
You just want to place/tap the Minx into place for now. Check to make sure the placement is correct before continuing to the next step in pushing the edges down. If you need to, you can retap Minx into place.
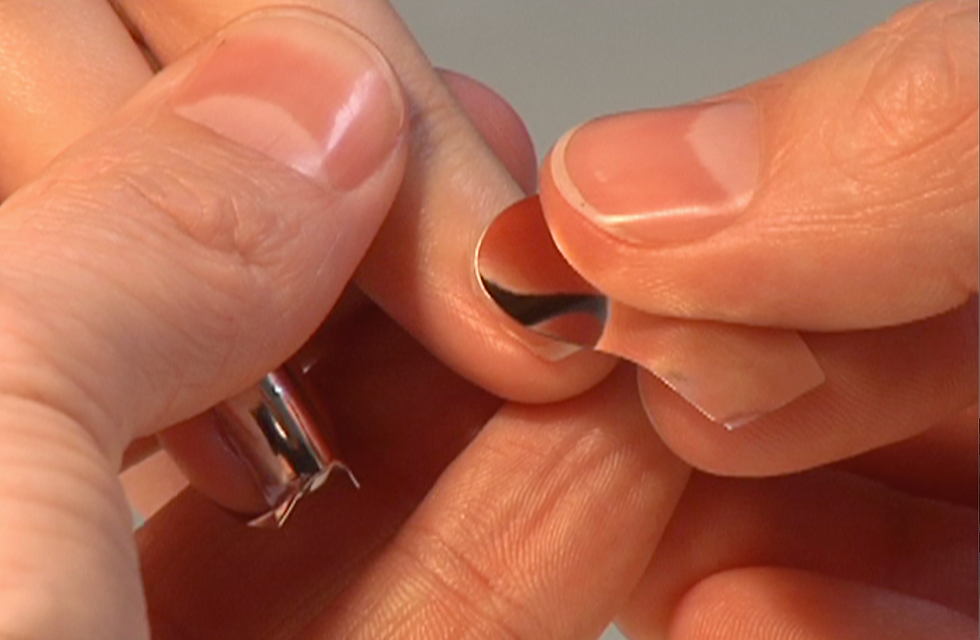
Step 4: Press Rest of Minx Onto the Nail, Working in the Edges
Press firmly, working from the center of the nail to the edges. The goal is to evenly press out all air out and to seal the edges.
Tip: try using one of your other nails to help squeegee out the air and help with that edge seal.
Step 5: Remove Excess Minx with a File
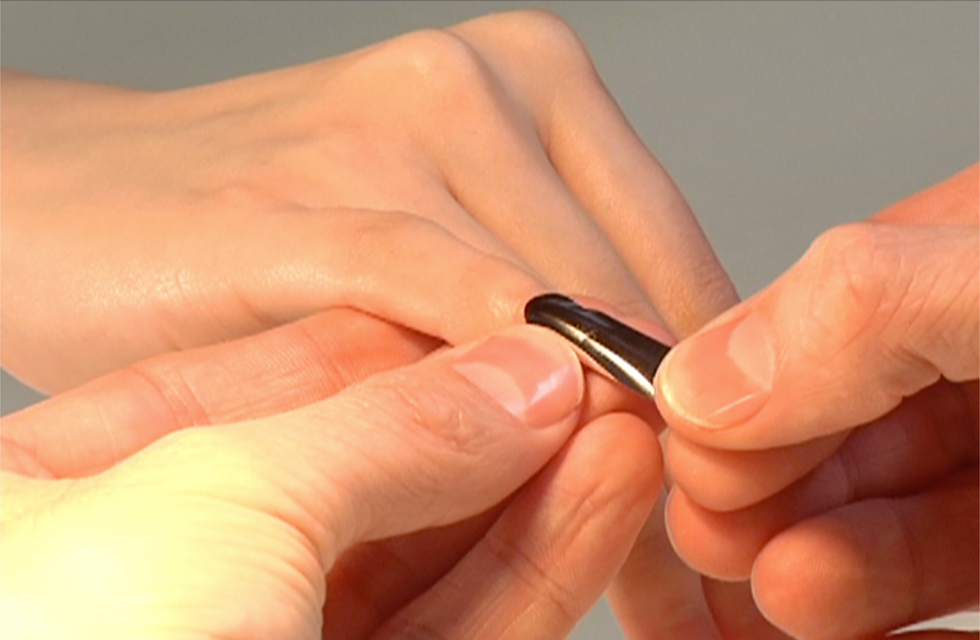
Fold the excess Minx down off the tip of your fingernail and use a file to remove the extra hanging off.
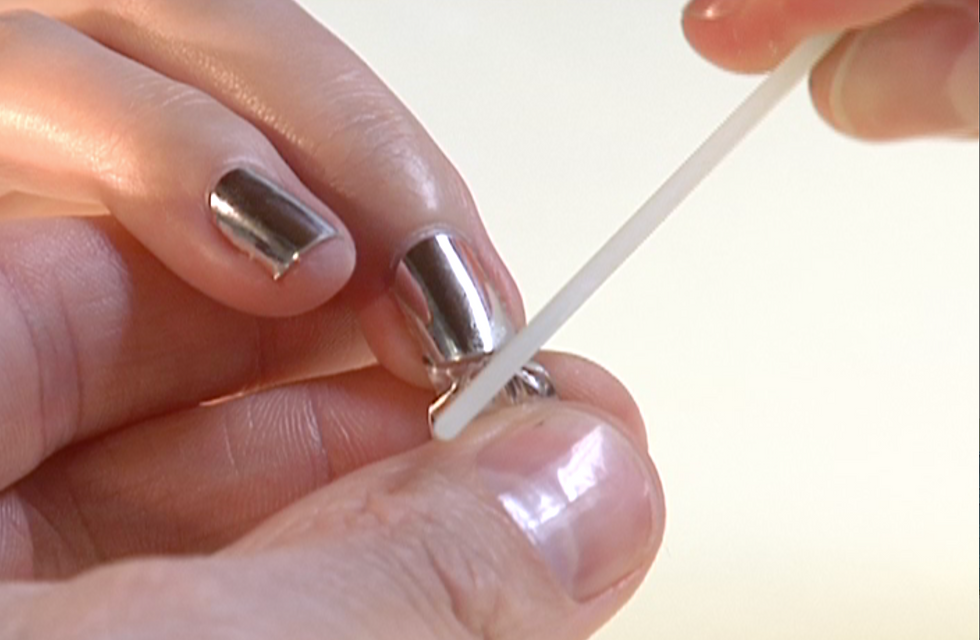
IMPORTANT: make sure you file in one direction (straight down) to avoid lifting. DO NOT saw with the file or file with an angle going over the Minx to avoid lifting/scratching.
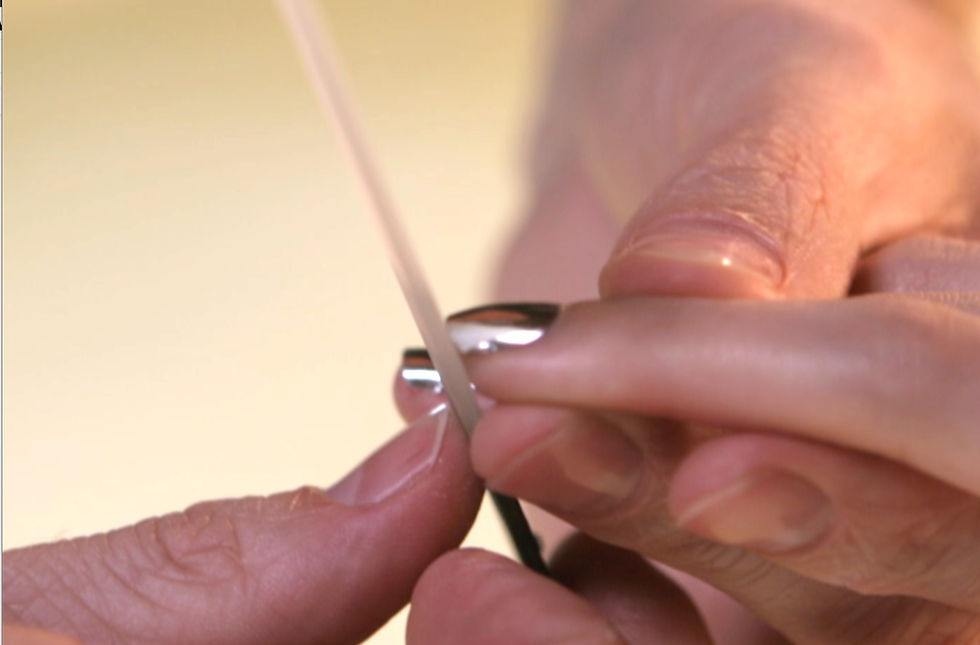
Use small scissors or twissors to help shape and finish the nail edge if needed.
Step 6: Reapply Heat and Pressure to Minx/Nail
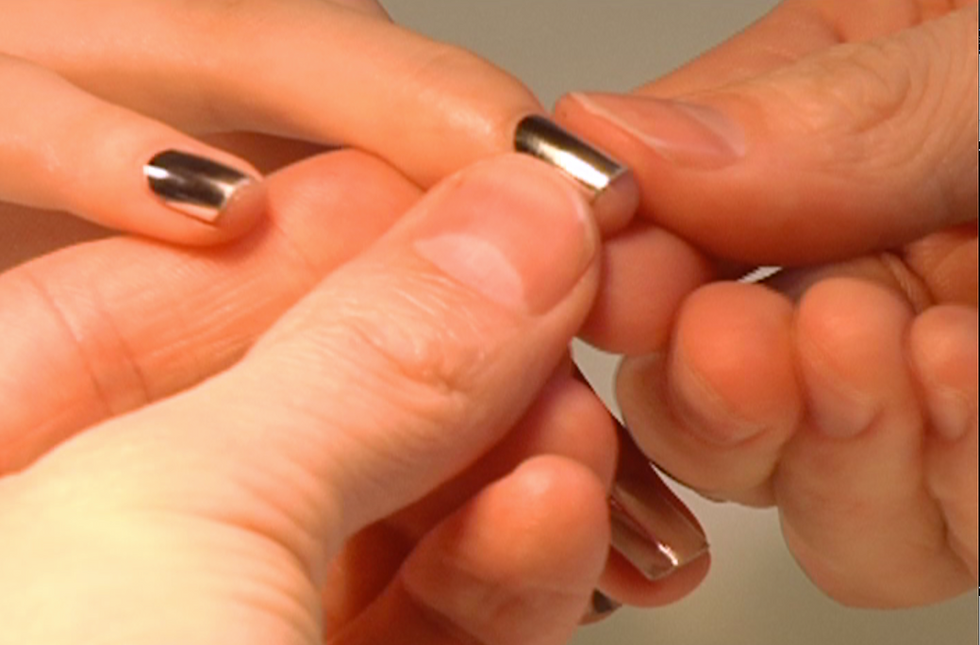
Finally, place your hands under heat and reapply pressure to finish adhesion to the nail. (If you don't have a source of heat, rub to create friction and press out towards the edges.)


Comments